
Buying pre-construction involves a series of defined steps. This guide walks you through the entire process from initial registration to receiving your keys.
Before You Begin: Preparation
Before entering the pre-construction market, there are several preparatory steps that will put you in a stronger position:
- Get pre-approved for a mortgage: While your mortgage will not be finalized until closing (which could be one to three years away), a pre-approval gives you a clear understanding of your budget and demonstrates to yourself that you can qualify at current rates.
- Understand your total budget: Your budget is not just the purchase price. Factor in closing costs, which for pre-construction in the GTA can add $30,000 to $60,000 or more beyond the home's price.
- Research the market: Familiarize yourself with pricing, home types, and neighbourhoods in your target area. If you are considering Vaughan, understand the differences between communities in Thornhill, Kleinburg, and the city's newer western developments.
- Engage a real estate agent: An agent experienced in pre-construction can provide access to VIP pricing, help evaluate builders, and review your agreement before you sign.
Step 1: Registration
The pre-construction process begins with registration. Most builders and their marketing teams maintain registration lists for upcoming developments. By registering, you signal your interest and gain access to project information, pricing, and floor plans before they are released to the general public.
Registration is free and non-binding. It simply places you on the builder's contact list for updates. For developments with multiple builders, registering through a single real estate agent gives you coordinated access across all builders within the community.
Step 2: VIP Preview and Selection
Many builders offer a VIP sales event before the general public launch. During this phase, registered buyers receive early access to:
- Floor plans and site maps
- Pricing for available lots and home types
- Priority selection of preferred lots and elevations
The VIP period can move quickly. Popular lot positions and floor plans may be claimed within the first few days, so it is important to have your preferences and budget clearly defined before the event.
Step 3: Signing the Agreement of Purchase and Sale
Once you have selected your home, you will sign the Agreement of Purchase and Sale (APS) with the builder. This is a legally binding document that outlines every aspect of the transaction, including:
- Purchase price and included features
- Deposit schedule and payment terms
- Estimated completion and closing dates
- Builder's obligations and buyer's responsibilities
- Conditions, if any (pre-construction agreements are typically firm, with no conditions)
At this stage, you will provide your initial deposit, typically $5,000 to $10,000 by cheque or bank draft.
Step 4: The Cooling-Off Period
Ontario law provides a 10-day cooling-off period for freehold pre-construction purchases. During this window, you can cancel the agreement for any reason and receive a full refund of your deposit.
Use this time to have the APS reviewed by a real estate lawyer. Do not skip this step. The agreement is a complex legal document with implications that extend years into the future. A lawyer experienced in pre-construction can identify clauses that require attention and explain your rights and obligations.
Step 5: Deposit Payments
After the cooling-off period, your deposit schedule begins. You will make a series of payments over the following months, typically bringing your total deposit to 15 to 20 percent of the purchase price within 12 to 18 months of signing.
Each payment has a specific due date outlined in the APS. Late payments may trigger penalty clauses, so set reminders and ensure funds are readily accessible on or before each due date.
Step 6: Design and Upgrade Selections
Many builders invite buyers to a design centre appointment where you can select finishes and upgrades for your home. Common choices include:
- Flooring materials and colours
- Kitchen cabinetry and countertop selections
- Bathroom fixtures and tile
- Electrical and lighting upgrades
- Exterior elevation and colour package
The timing of the design appointment varies by builder but typically occurs several months after the APS is signed. Some selections are included in the base price, while others are priced as upgrades.
Step 7: Construction Period
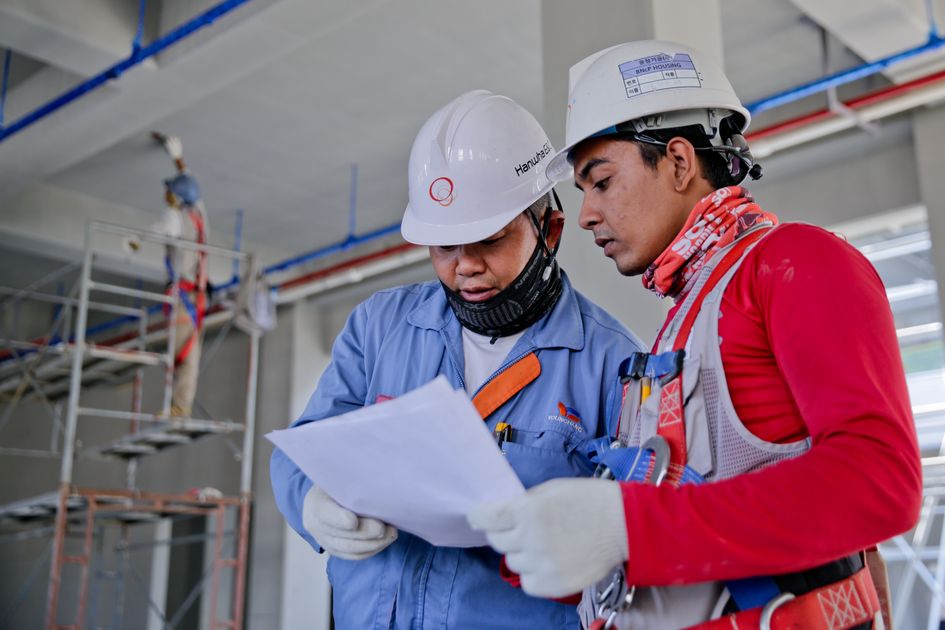
During construction, your direct involvement is limited. The builder manages the construction process, and buyers are generally not permitted on the construction site for safety reasons. Builders may provide periodic updates on construction progress through email or an online portal.
This period is a good time to finalize your mortgage arrangements, as you will need to secure financing before closing. Begin working with your mortgage broker at least six months before the estimated closing date.
Step 8: Pre-Delivery Inspection (PDI)
Before closing, the builder will schedule a Pre-Delivery Inspection. This is your opportunity to walk through the completed home with a builder representative and identify any deficiencies or items that need to be addressed before you take possession.
Common items noted during a PDI include paint touch-ups, minor drywall repairs, flooring scratches, and missing or incorrect hardware. All noted items are documented on a form that the builder is obligated to address.
Step 9: Closing
Closing day is when ownership officially transfers to you. Your lawyer will handle the legal paperwork, your mortgage funds will be disbursed, and you will pay any remaining closing costs. These costs include:
- Land transfer tax (Ontario, and Toronto municipal if applicable)
- Legal fees
- Development charges and utility connection fees (if not included in the purchase price)
- Title insurance
- HST adjustments (if applicable)
Once everything is finalized, you receive the keys to your new home.
Step 10: After Closing
After you move in, your Tarion warranty coverage begins. Familiarize yourself with the warranty timelines and documentation requirements. You will have specific windows during which you can submit warranty claims for deficiencies found after move-in.
Congratulations on your new home. The pre-construction process requires patience and planning, but understanding each step in advance helps you navigate it with confidence.
Have Questions About Pre-Construction?
Matthew Caporiccio can help you understand pricing, deposit structures, and availability at The Valleys of Thornhill and other pre-construction projects across the GTA.